|
Event Opal Active Studio Monitors Feb 2023  I got some Opal Monitors. I will gather as much information as I can on the Opals and present it here, as a resource for other owners.  They have high pressure die cast alloy cabinets, so weigh just over 21 kg each. 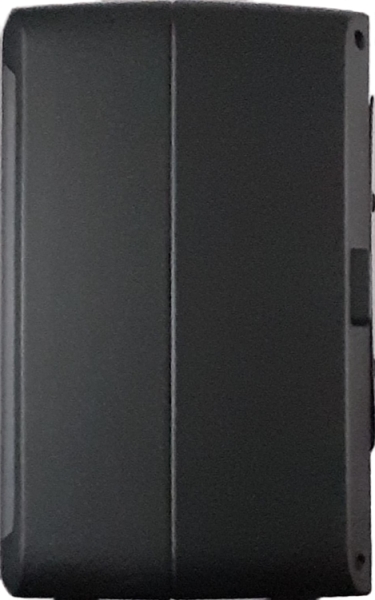 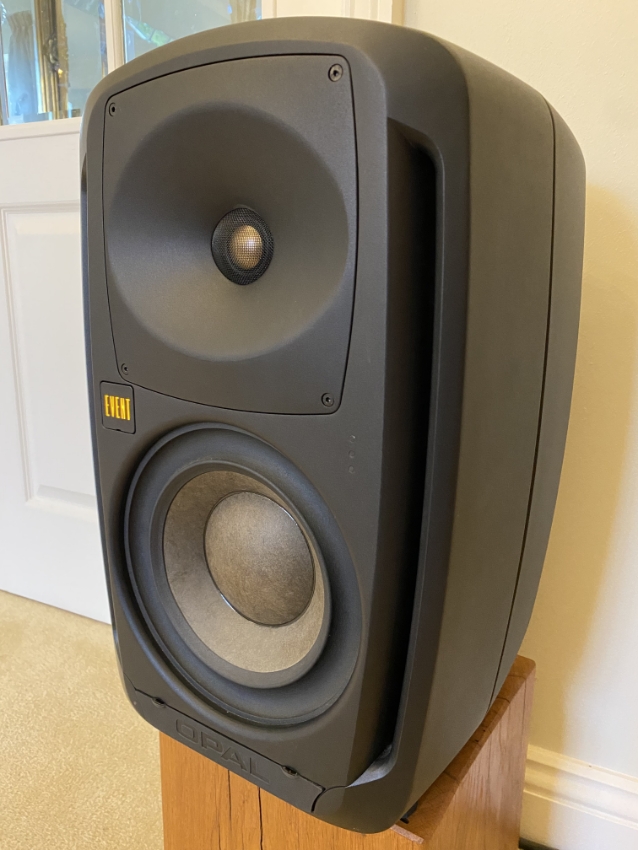 The design and development was a huge undertaking for the company and the rumour is that they had a budget of $4 million US to develop their ultimate studio monitor. They designed everything from scratch, including the Beryllium dome Tweeter and the 7" Midbass with its Neodymium magnets and twin 2.5" voice coils. Amplification is class AB with 270w continuous music for the Midbass (600w peak) and 50w (140w peak) for the Tweeter. They kept it all analogue, with no DSP in site and included a useful set of controls to adjust for room acoustics and reflections off the mixing desk. 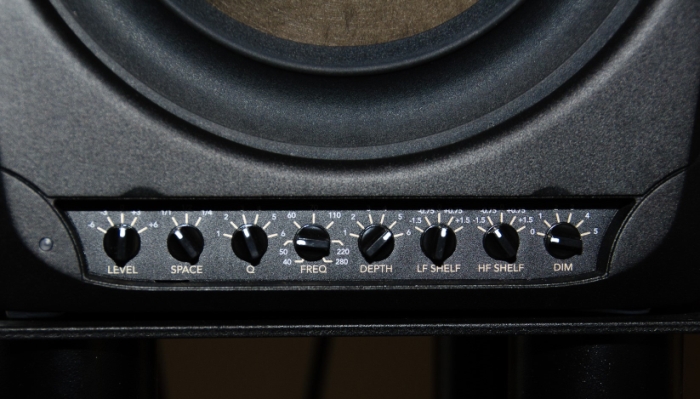 The controls are hidden behind a rubber flap, just below the midbass driver. 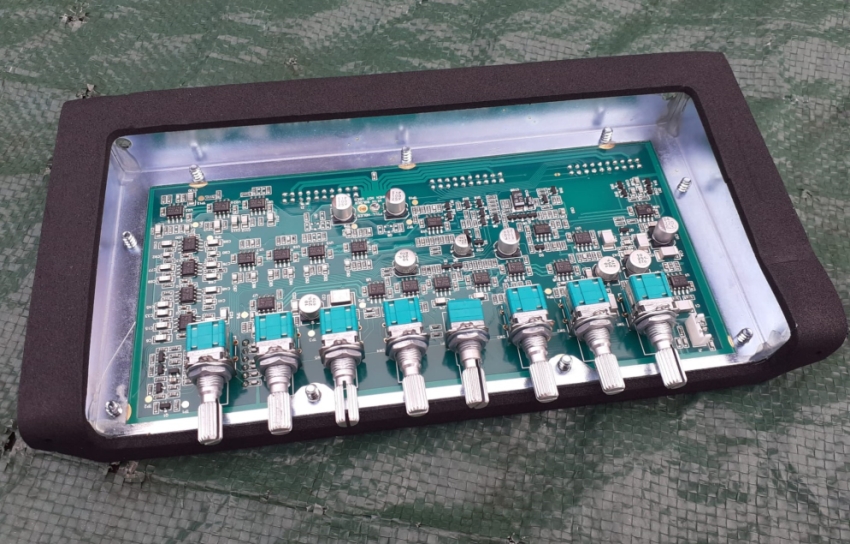 It's quite a complex board behind the "contour" controls, so called because they alter the contour of the frequency response curve. The speakers came with a calibrated microphone and software to load onto a laptop, this predictive program helps optimize the settings, using the in room measured response. This is the only SMC board, the others are all through hole components. I had an issue, with a bit of self noise, hum/hiss on one of my speakers, that could be heard from 5 feet away. I managed to virtually eliminate this, by improving the grounding of the contour board. The board is screwed to the front half of the cabinet, but all the other electronics are mounted in the rear half. The electrical connection between the two case halves is, at best uncertain, due to the painted surfaces, rubber seals and thread lock used. 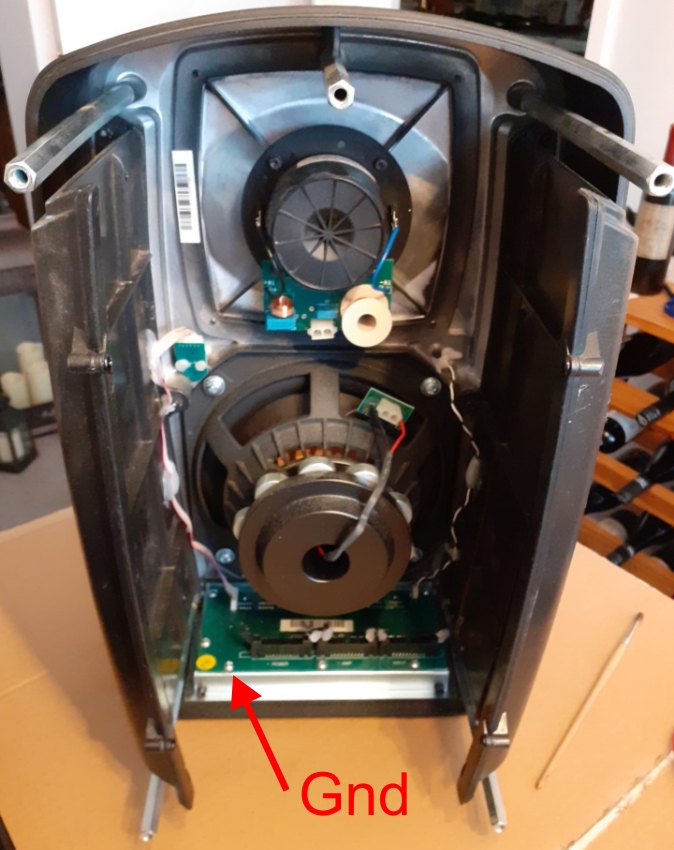 I added an additional ground wire, connected under the head of the rear left fixing screw on the contour board. The PCB's ground plane is exposed at this point........  ........and ran the new wire to the grounding point on the rear case half. The input board and Amplifier board are already grounded here. I left enough slack in the cable, so this could be disconnected before separating the case halves, if I needed to do this in the future. The excess cable tucked outside the plastic side cheek, as I brought the case halves together. This modification worked well and the noise, which could be heard from 5 feet away, was now barely audible 6 inches from the drivers.  While I had the speakers apart, I created some High Level outputs, terminating in banana sockets, which can be seen to the right of the main inputs. Mounted in this location, they avoid being damaged, if the speaker is laid on its back. These are connected to the midbass amplifiers output and can be compared functionally, to speaker binding posts on a conventional amplifier. These will allow me to plug a Sub Woofer into each monitor, using the high level input on the Sub. This is the preferred method of connection, for companies like REL Acoustics and BK Electronics. For my application, it also reduces the number of long cable runs from my Pre Amp. I plan on mounting each Monitor over a companion Sub Woofer, with a short high level cable between the two. So Line Level signal from my Pre to Monitor, then High Level signal from Monitor to adjacent Sub. 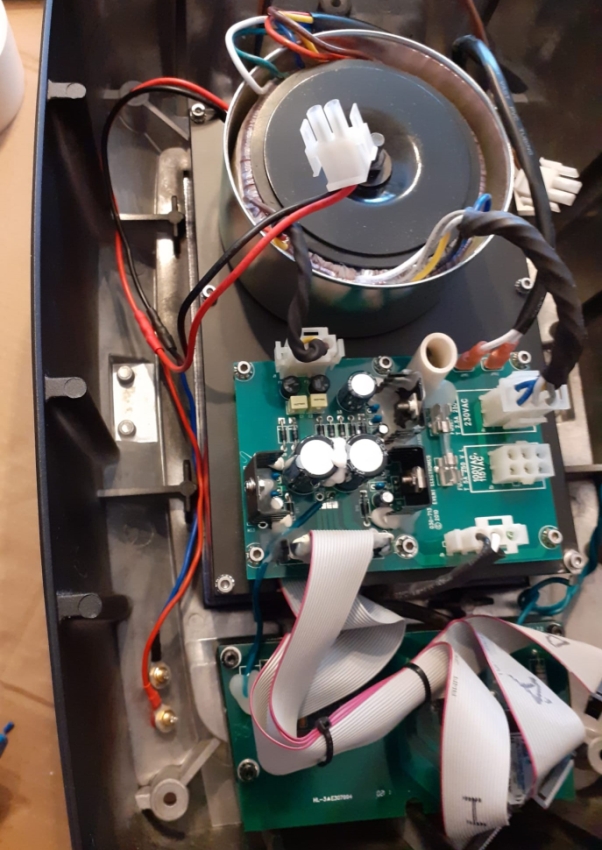 You can see the Red and Black wires on the left from the Midbass Amp. I tapped into these for my output sockets. This has no effect on the loading for the Midbass driver, or its Amplifier, as the intended Sub Woofers have an impedance of 100kohm on their High Level inputs. |
 |
 |